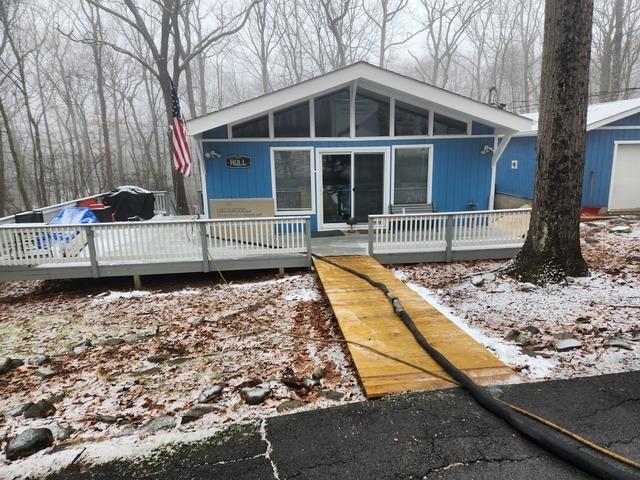
Ranch Home
The home of the crawl space that we would be insulating
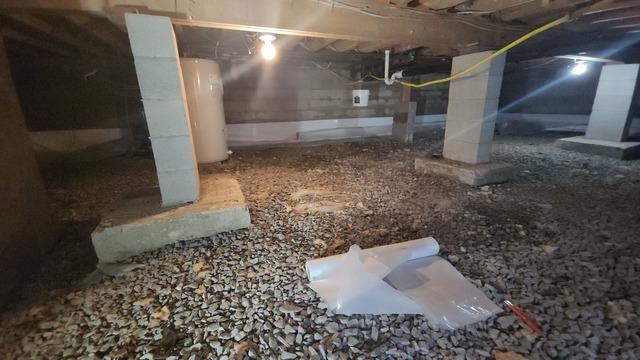
Entering The Crawl Space
How the crawl space looked when you first entered it.
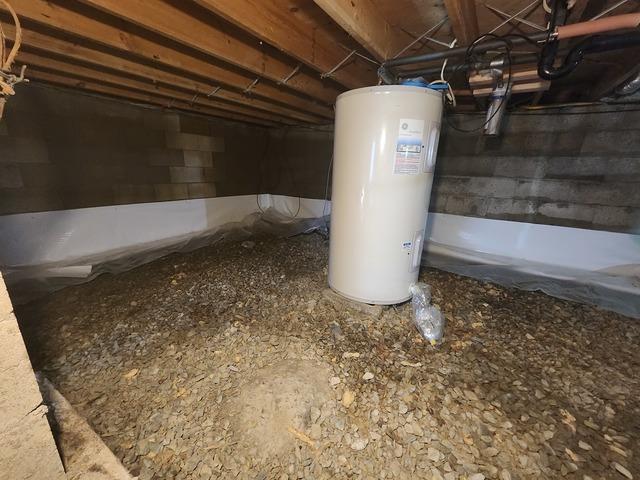
By The Water Heater
How the back left corner of the crawl space looked.
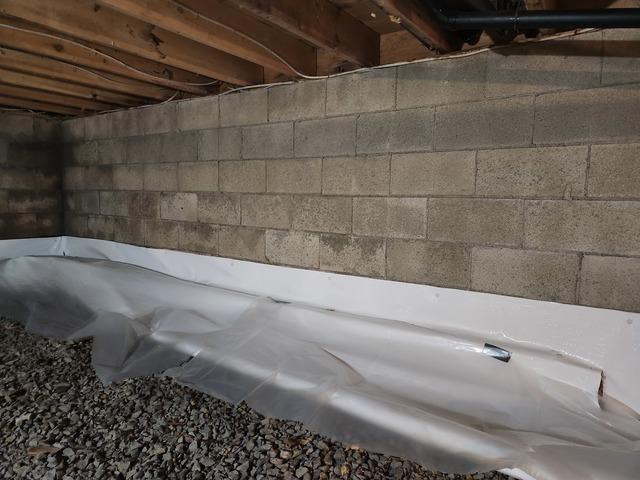
Bare Left Foundation Wall
How the left wall of the crawl space looked.
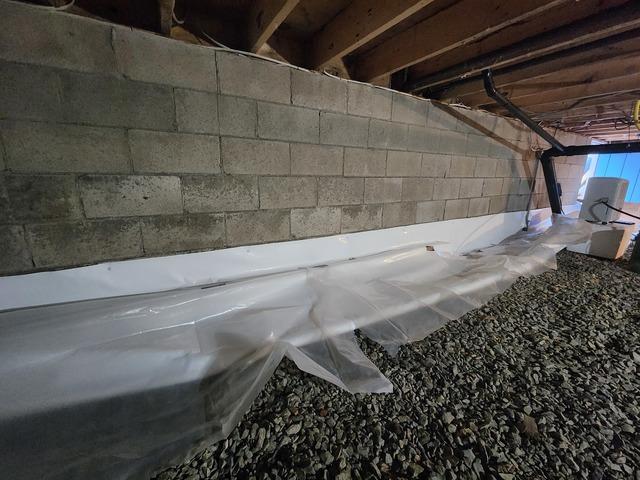
Bare Right Foundation Wall
How the left wall of the crawl space looked.
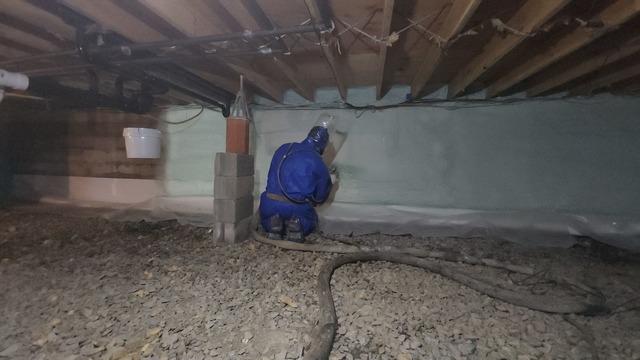
Starting To Insulate The Crawl Space
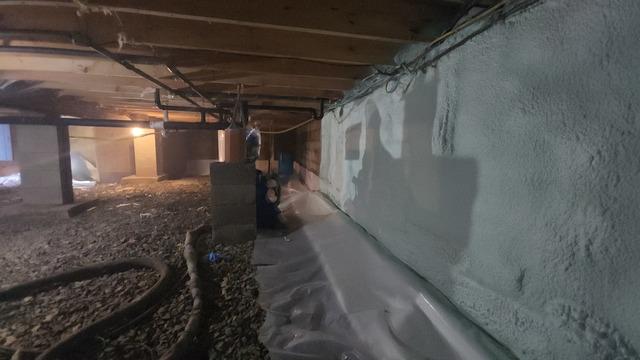
After preparing the crawl space our Specialists are ready to start.
f
f
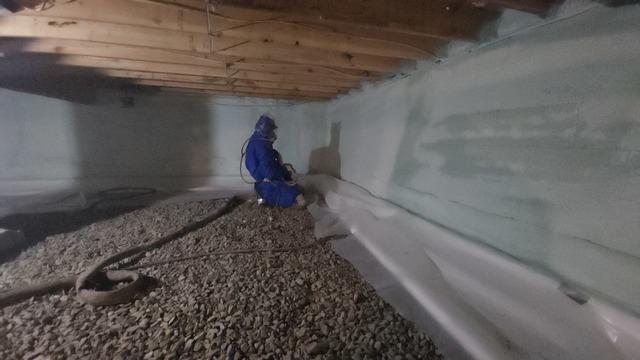
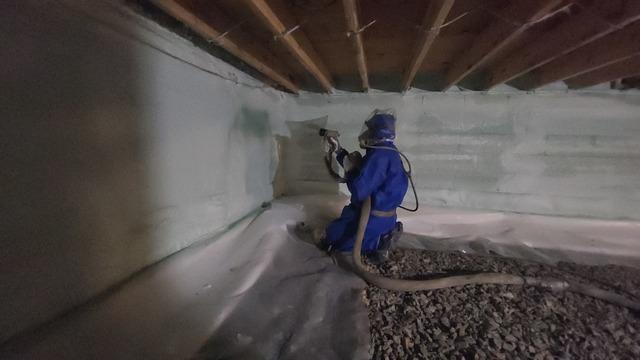
One Down Three To Go
After completing the left wall we moved onto the back wall of the crawl space.
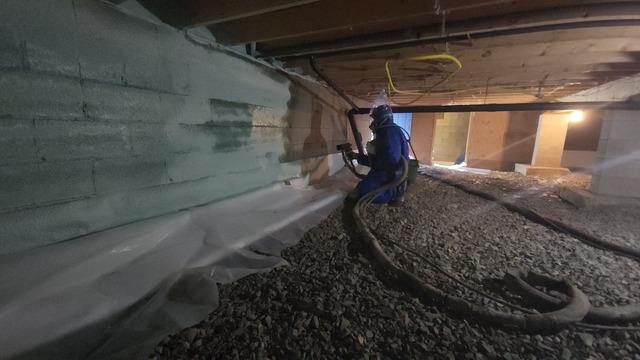
Two Down Two To Go
After completing the back wall we moved onto the right wall of the crawl space.
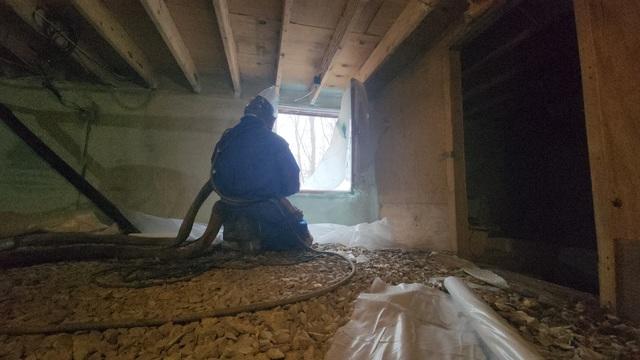
Getting To The End Of The Right Wall
Our team works effectively and efficiently to finish off this long wall section with spray foam.
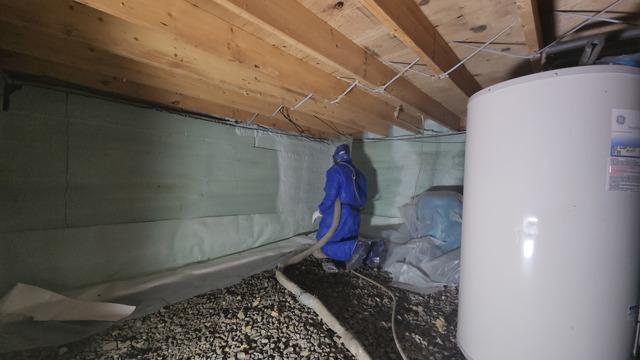
Creating An Air Seal
In order to create a proper air seal for this crawl space we sprayed spray foam both around and on the back of the entrance door. By doing so the thermal envelope of it cannot be broken.
Home Stretch
Our team putting on the the finishing amounts of spray foam before moving on to laying our vapor barrier.
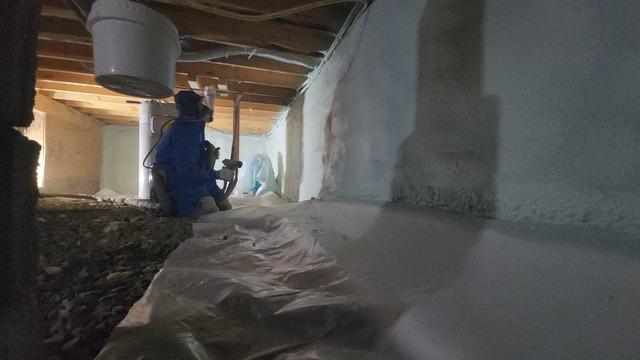
Coming Full Circle
Wrapping up the last section of the crawl space walls that needed spray foam.
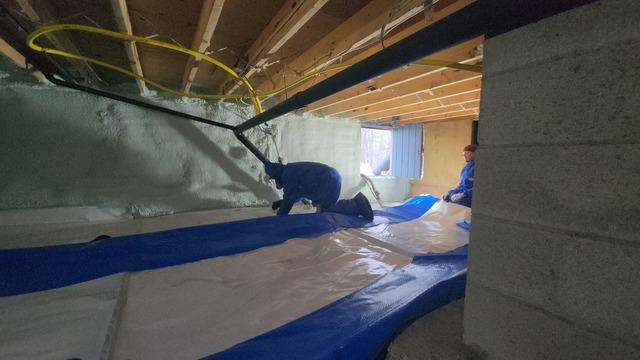
Vapor Barrie Time
Once done applying spray foam we started bringing our CleanSpace into the crawl space. We strategically laid it out to cover every inch of the floor.
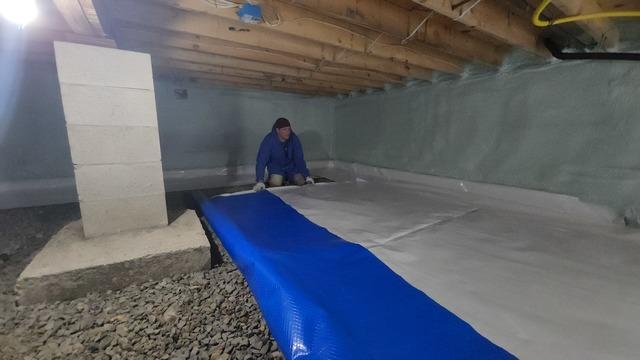
Laying The Right Side
After getting all of our CleanSpace into the crawl space we started by laying our vapor barrier on the right side of the crawl space floor.
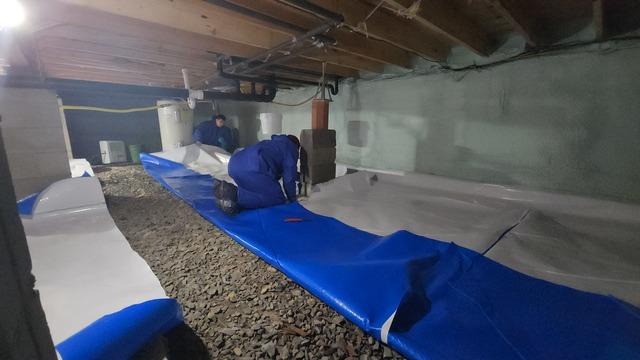
Finishing Up With Our Vapor Barrier
Once CleanSpace was in place on the right side we transitioned to the left side of the crawl space, which we applied the same treatment as the right side of the floor.
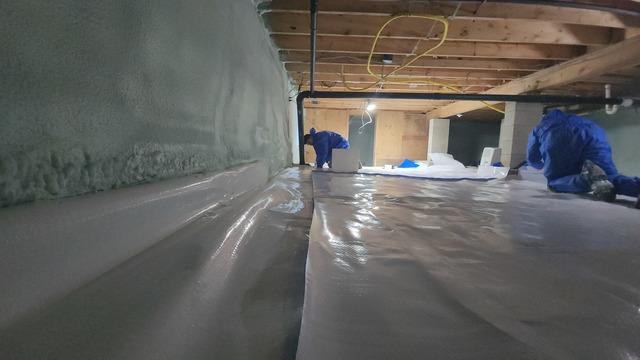
Home Stretch
Once everything was even and flush we began applying our structural tape to it so that no water or vapor can penetrate the crawl space.
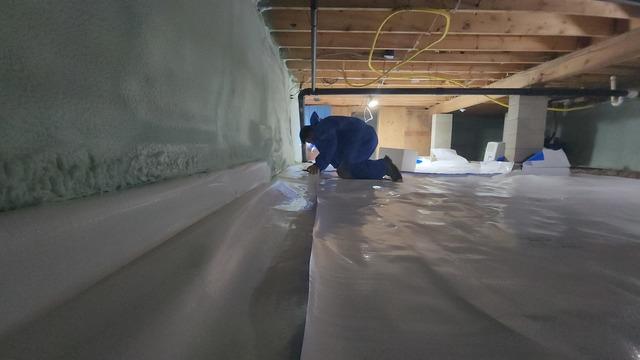
A Long Run
Making Sure that our structural tape is flush with the footing and CleanSpace as we apply it.
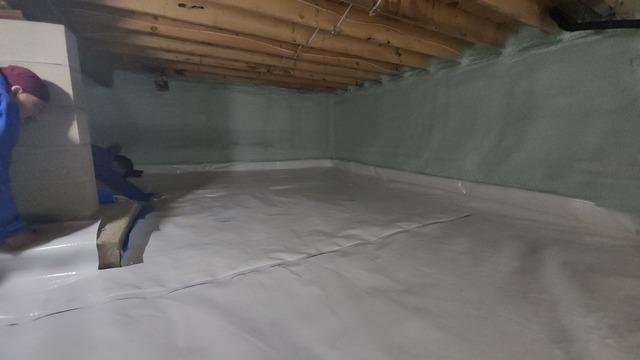
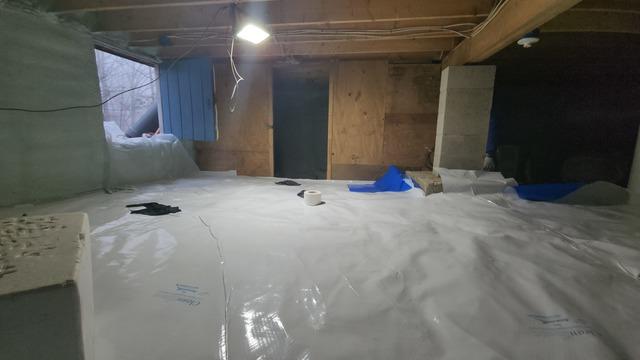
Back Side
How the back of the crawl space looked once the project was completed.
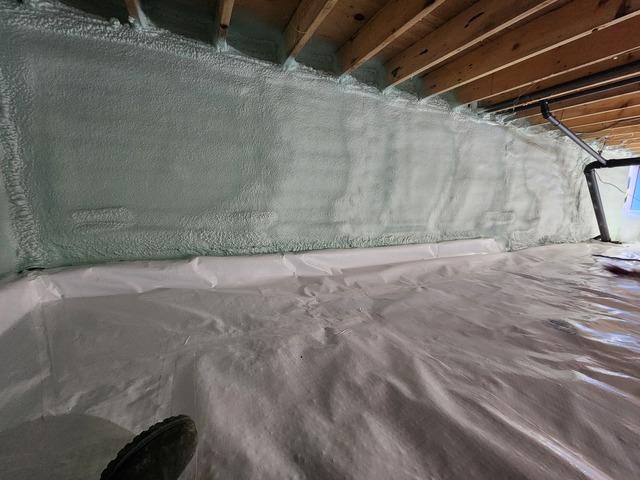
Right Side
How the right side of the crawl space looked once the project was completed.
f
f
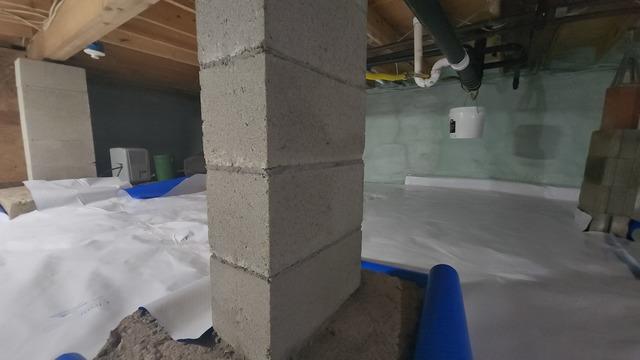
Center And Left
How the center to the left side of the crawl space looked once the project was completed.
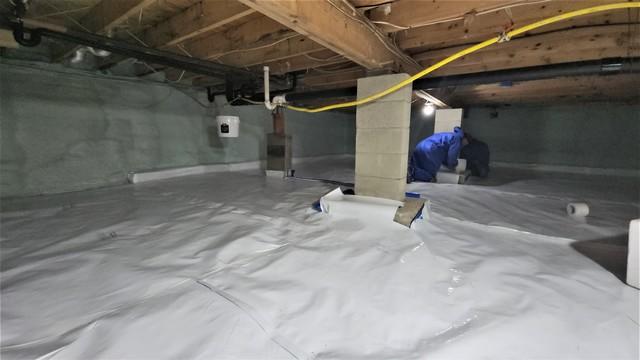
Another Project In The Books
How the center and back of the crawl space looked once the project was completed.
